Here are the steps to calibrate the Mavic Air 2 compass and IMU. The Mavic Air 2 calibration of the Compass and IMU is an easy procedure to fix issues such as flying erratically, disconnects, flyaways or gimbal problems. Calibration of the Mavic Air 2 gimbal will fix many aerial photo and video issues.
After the calibration instructions, we have notes regarding the Mavic Air 2 calibration. Along with detailed steps ,we also have a terrific video on how to calibrate the Mavic Air 2.
Also, if you are having any difficulties (disconnects, flyaway, return to home) with your Mavic Air 2, we have put together an article with tips on troubleshooting and fixing Mavic drones.
Calibrate DJI Mavic Air 2 Compass, IMU & Gimbal
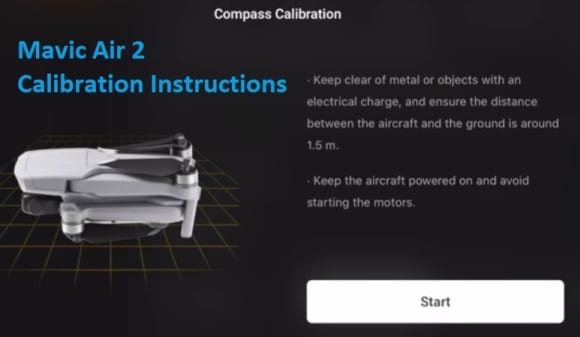
Mavic Air 2 Compass Calibration Steps
Here are the steps required to calibrate the DJI Mavic Air 2 compass;
- Choose an open area outside away from telecoms masts, structures, cars (EMI)
- Turn on your Mavic Air 2 quadcopter and also the DJI Fly app in the Remote Controller
- Tap on the 3 dots in the top right corner of the Fly App
- Tap on “Safety”
- Scroll down to the “Sensors” section
- Select “Calibrate” to the right of the Compass
- Click on “Start
- The Mavic Air 2 indicators lights will blink yellow, indicating that the calibration is about to start
- Put down the Remote Controller and follow the onscreen instructions
- Hold the Mavic Air 2 horizontally (aircraft belly facing the ground) and rotate it 360 degrees in the clockwise direction
- When the Air 2 drone indicator light changes from yellow to solid green, then move on to the vertical calibration
- Hold the Mavic Air 2 vertically with its nose pointing upwards and rotate it 360 degrees around its vertical axis
- The Mavic Air 2 indicator will turn from yellow to solid green when successful
- When both horizontal and vertical compass calibration is completed successfully, the indicator light will be flashing green along with calibration successful in the Fly app.
If the Mavic Air 2 indicator lights blink red and yellow alternatively after calibration, this means the calibration has failed. There could be a high level of electromagnetic interference. Move to a different area and try the calibration again.
Calibrate DJI Mavic Air 2 IMU Instructions
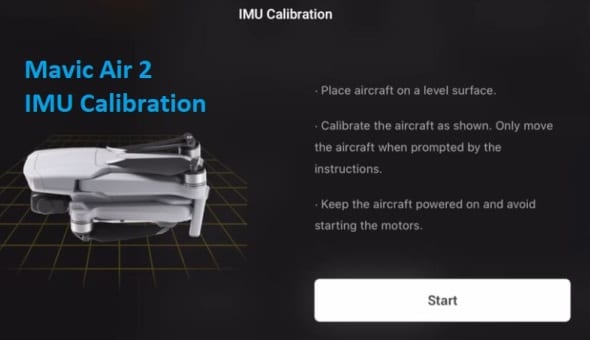
Here are the steps required to calibrate the Mavic Air IMU;
- Place the Mavic Air 2 on a dry flat surface
- Switch the Mavic Air 2 on, with its arms closed in
- Tap on the 3 dots in the top right corner of the DJI Fly App
- Tap on “Safety”
- Scroll down to the Sensors section
- Select Calibrate to the right of the IMU
- Click on “Start and follow the onscreen instructions to orient the drone for IMU calibration
- Start with the Mavic Air 2 on its belly and the calibration will go to 100%. The LED will flash green when complete
- Next, move the Mavic Air 2 onto its right side and the IMU will calibrate to 100%. The LED will flash green when complete
- Change the Mavic Air 2 over to the left side and let it calibrate to 100%. The LED will flash green when complete
- Stand the Mavic Air 2 up and let it continue to calibrate the IMU to 100%. The LED will flash green when complete
- Turn the Mavic Air 2 upside down so that it’s camera is pointing up and let it continue to calibrate
When the full Mavic Air 2 IMU calibration is complete, the drone will restart.
How To Calibrate Mavic Air 2 Compass & IMU Video
Here is an excellent video on how to calibrate both the Mavic Air 2 compass and IMU.
How To Calibrate DJI Mavic Air 2 Gimbal
Here are the instructions to calibrate the Mavic Air 2 gimbal camera;
- Place the Mavic Air 2 on a flat surface
- Switch on the Mavic Air and remote controller with your smartphone in it
- Tap on the 3 dots in the top right corner of the DJI Fly App
- Tap on “Control”
- Scroll down and tap on “Gimbal Calibration”
- Tap on “Auto”
- The Mavic Air 2 calibration to re-center and align the gimbal will proceed.
- When finished, you will get the “Calibration successful” on screen in the Fly app
Best Practice For Mavic Air 2 Calibration
It is good practice to calibrate the Mavic Air 2 compass, IMU and gimbal under the following circumstances;
- When you first turn on the Mavic Air 2 drone, calibrate the compass and IMU
- Flying in a new location, which is a good distance like 31 miles (50 km) from where the Air 2 drone was last flown
- Compass interference warning appears in the DJI Fly app
- Mavic Air 2 indicator blinks red and yellow alternatively
- Gimbal calibrate if having issues with camera shake, horizon is off and rolling shutter
- Calibrate the IMU and compass after a crash
If your Mavic Air 2 is still having issues after calibration, then read this article on fixing Mavic issues. You can also update the Mavic Air 2 firmware.
If your Mavic Air 2 is in warranty, discuss your issues with the company you bought the quadcopter from or contact the DJI Support. You can also post your questions on the DJI Air 2 support forum.
If your Mavic Air 2 has a crash and after a physical examination, the Air 2 looks OK, then you still should complete a calibration. Also after a crash, and if your drone looks ok after physical examination, you should only take off and hover, then move slowly to make sure your drone is flying perfectly.
If it is flying erratically, then land the drone and bring it your DJI service provider to fix.
Note: If you need anything for your Mavic Air 2 you can find a terrific variety of Mavic Air 2 parts, upgrades and accessories here.
DJI Mavic Air 2 Care Refresh
The Mavic Air 2 Care Refresh provides two replacement units for a small additional charge in one year and covers a wide variety of accidents, giving you greater peace of mind. Click on the below link to read the FAQ and for price.